Skip to content

Give the Gift of Adventure! 🎁 Get Your Next Adventure Gift Card Today!

Give the Gift of Adventure! 🎁 Get Your Next Adventure Gift Card Today!

Free Shipping Over Your Purchase of $50 or More!

Free Shipping Over Your Purchase of $50 or More!

Missed the Shipping Window? Pick up in Store!

Missed the Shipping Window? Pick up in Store!

Become a Next Adventure Member and save!

Become a Next Adventure Member and save!

Video How To: Repair a Tent Pole - Next Adventure

Video How To: Repair a Tent Pole

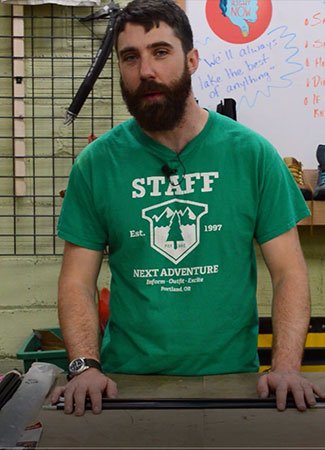
Don't toss out your old tent poles, Matt from Next Adventure shows us how to replace a broken or worn out shock cord to give them new life.
-Hey, everybody, my name is Matt. We're here at next adventure and today we're going to talk about repairing the shock cord in your tent poles. We see this a lot, people come in with tent poles and the shock cord has been stretched out and you just need to repair that cord as it goes through the middle of the pole. Most high-end tent poles are designed so that you can re-thread the shock cord when it wears out. They're just designed to live that long and stay with you for a long time. Some of the low-cost poles, especially fiberglass poles, often don't hold up. But that's okay, it doesn't mean you throw the whole tent out - it just might be a little bit more complicated to get a new shock cord into the poles. So, every tent pole is going to be a little bit different. There are all sorts of different ways of attaching the shock cord that runs through the inside of the tent poles to the end. Sometimes you'll get aluminum tent poles with an end cap that's tacked in there or crimped in there through a little pinching mechanism. You'll get ones that are glued on or you'll get rubber capped ones. Sometimes they don't want to come out - you might need to get a little creative with how you remove or choose not to remove these end caps. One of the simplest and most obvious ones to replace it's going to look a little like this, often these have threads on them and they unscrew. This guy's real real simple and you see the shock cord it's just passed through a little hole there on the end cap and tie it off with a Knot. So, we're going to replace this one today. It's going to be nice and easy and be a good little example to show you the basics. A couple of the things that are really handy are a good pair of forceps, a good pair of pliers handy for a lot of things, also a tape measure can come in handy. The main thing is shock cord. If you've got the shock cord that's the same length as your tent pole you're going to be alright. Just get some shock cord by the foot, it's available at all sorts of hardware stores and outdoor retailers. The first thing you're going to need to know is how long your tent pole is. You can always use a tape measure to measure the sections. I like to extend the whole thing out and measure it as one unit, and you're going to need about as much shock cord as the exact measurement of your pole. You might be thinking -Matt, what about the knots? It's gonna suck up a little bit- and that's true, but we also want a teeny bit of tension on this guy. So, it works just about right - full length your pole. A lot of tent poles have different sections and different parts of the pole. I like to put a little tape on to mark 'em, that we keep track of which one goes where. So, we're going to nu-thread all these guys. Keeping them in order of course. I've got the new shock cord and I'm going to attach it to this guy. A double overhand will work just fine. Create a little stopper knot to keep it from sliding through. Looks pretty good to me. There are a few different ways that you can thread it through. A thin piece of wire will do the trick. You can feed this wire all the way through, you can see on this one we use the pliers to make a little hook on it before we got started. I'm just going to lock the shock cord into that little hook. It's going to work great. Pull it through like yeah. Another thing you can always do is get as much slack as you need to and just use gravity to help you do the work. Feed it all the way through and see that we've got these poles going back in the correct order. It's good to feed that extra a little bit of slack all the way into the pole. So yeah, once that's in that looks good. We can start feeding the rest through. Now that we're at the end of the pole section we're re-threading, I'm going to pull a little bit of tension through on this guy and lock it up with the forceps. So, this is going to be plenty. Let's trim it off there. Now, this is attached and we're going to feed it back inside the poll. We're going to make sure that knot goes in before the rest. All right, there you go. Fully re-strung, shock cord ready, section of tent pole. Here at Next Adventure, we're not a repair shop but we really believe in reusing gear and continuing gear. We want to empower our customers to repair their equipment. Come on in and talk to us about it. We want to explore ways for you to keep using the gear you love.
Previous article Elevate Your Climbing Game with the Scarpa Vapor: A Versatile and High-Performance Shoe