Video: How To Repair Your Ski And Snowboard Base With P-Tex
Getting scratches on your base is a normal part of skiing and snowboarding. Surface level scratches can be smoothed out with the base grind by a professional tune shop. But deeper scratches, or core shots, can interfere with your riding and will be a threat to the health of your skis or board. Core shots will eventually allow water to soak into the inner layers which can then cause the layers to separate or de-laminate.
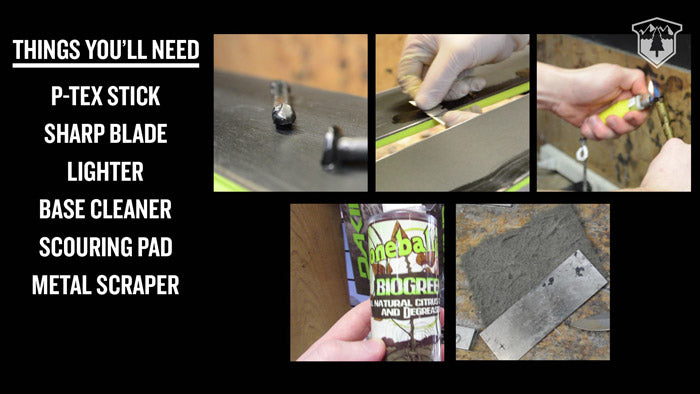
 Here are a few things you'll need to do this repair; P-tex stick, sharp blade, lighter, base cleaner, scouring pad, metal scraper, and a Well-ventilated area where you can make a mess.
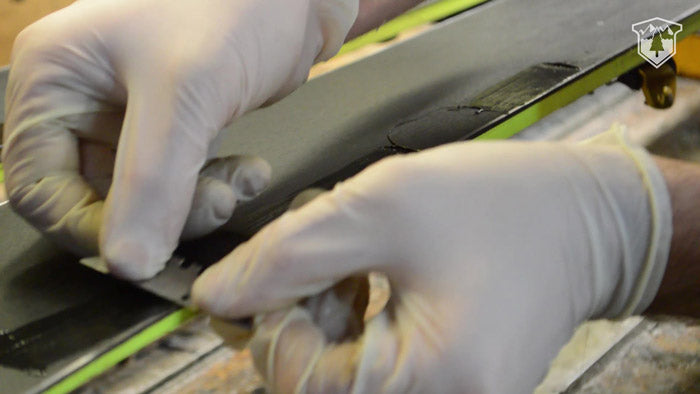
First, remove the excess base material from around the damaged area using a sharp blade. Then scrub clean the area of any dirt using a base cleaner. Once it is clean and dry you can light your P-tex with a careful flame. P-tex can be slow to light. Using a constant flame from the candle or even a torch is best to light the stick.
You'll need a safe surface to allow for the hot P-tex to drip while you work. When lit, P-tex is dangerously hot, be careful not to let it drip on your skin. When you get comfortable working with P-tex you can make very little mess, but it is best to be prepared for the worst when starting out.
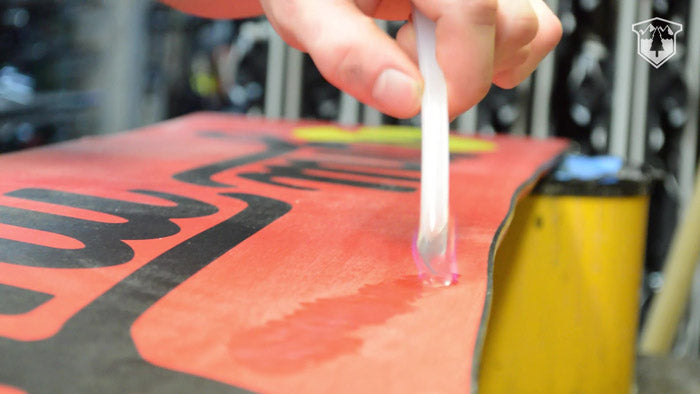
 Once lit, hold the dripping P-tex above the repair area letting the drips fill in the scratches. Hold it low and close to the area. If it is a deeper repair, it will need several layers of P-tex to fill in and let each new layer of P-tex cool in the base before relighting the stick and adding the next layer. Repeat this process until the layers are built up, filling the entire area.
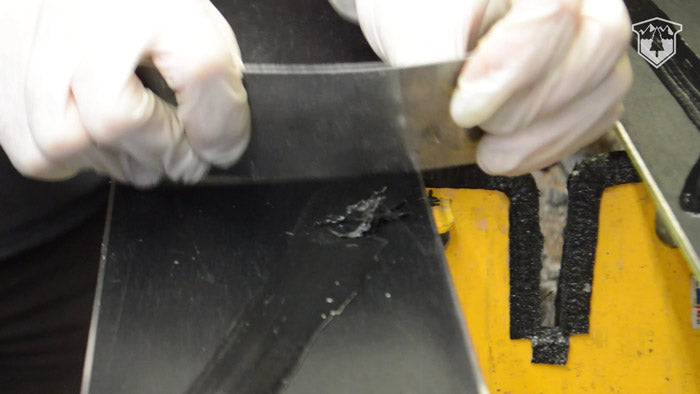
 After the P-tex is fully cooled use your knife to remove the excess material above the base surface. Finally, a metal scraper will shave the final layer down to evenly match the base surface. Use careful small scrapes to finish the job, going back over it slowly and evenly until smooth with your base.
 There you have it, your base is as good as new. If there is an extra-large gouge or if it is along the metal edge, it can be best to have a tune shop do to repair. Even with a repair fee, it will be much cheaper than new skis or a new board. If you have any questions, feel free to give us a call or swing by our shop.
 Here are a few things you'll need to do this repair; P-tex stick, sharp blade, lighter, base cleaner, scouring pad, metal scraper, and a Well-ventilated area where you can make a mess.
First, remove the excess base material from around the damaged area using a sharp blade. Then scrub clean the area of any dirt using a base cleaner. Once it is clean and dry you can light your P-tex with a careful flame. P-tex can be slow to light. Using a constant flame from the candle or even a torch is best to light the stick.
You'll need a safe surface to allow for the hot P-tex to drip while you work. When lit, P-tex is dangerously hot, be careful not to let it drip on your skin. When you get comfortable working with P-tex you can make very little mess, but it is best to be prepared for the worst when starting out.
 Once lit, hold the dripping P-tex above the repair area letting the drips fill in the scratches. Hold it low and close to the area. If it is a deeper repair, it will need several layers of P-tex to fill in and let each new layer of P-tex cool in the base before relighting the stick and adding the next layer. Repeat this process until the layers are built up, filling the entire area.
 After the P-tex is fully cooled use your knife to remove the excess material above the base surface. Finally, a metal scraper will shave the final layer down to evenly match the base surface. Use careful small scrapes to finish the job, going back over it slowly and evenly until smooth with your base.
 There you have it, your base is as good as new. If there is an extra-large gouge or if it is along the metal edge, it can be best to have a tune shop do to repair. Even with a repair fee, it will be much cheaper than new skis or a new board. If you have any questions, feel free to give us a call or swing by our shop.


